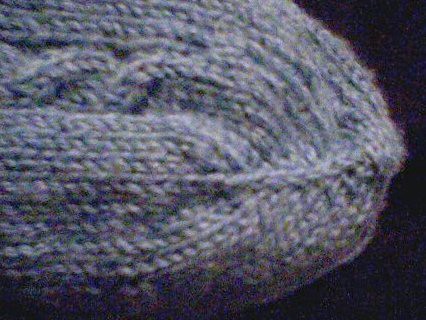
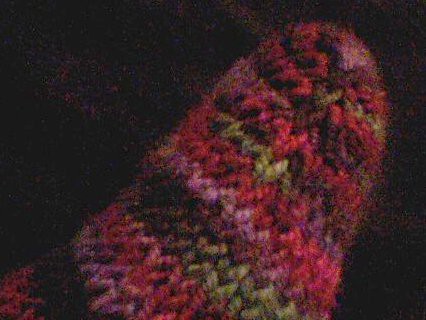
When I made my first pair of socks, I used a short-row toe. I liked the look of it, and didn't find the wrapped and double-wrapped stitches to be quite as annoying as people on the various online forums claimed. However, when I found the magic cast-on, I was almost an immediate convert. I say almost because, even though it was a quicker and easier way to make a toe, I didn't like those wide "stripes" that occur on both sides of the toe when you work the increases as many patterns suggest: knit a stitch or two at the beginning of the round, increase (I like a lifted increase), knit to almost the midway point, increase, knit a few stitches, increase, and so on, so that there are a few stitches between each increase. I found that the finished product looked a little blocky and somehow not as nice as a short-row toe. After a little playing around, I realized the obvious: all I needed to do to create a smoother and better-shaped toe was to eliminate the stitches between the increases.
After casting on using the magic cast-on (or a figure 8 cast-on, or any other manner of two-needle cast-on), place a stitch marker at the beginning/end of the round, and another at the halfway point of the round. After knitting one plain round, slip the marker, and L1B in the first stitch. Knit all the way to the second marker, and do L1A in the last stitch. Slip the marker, and repeat. Work these two rows until you've got as many stitches as you need for your foot. The result has the look and shape of a short-row toe, but without any wrapped stitches, turning, or purling.
Fortissima Socka in Sea Blue, with size 1 needles:

Mirasol Hacho, with size 6 needles:
No comments:
Post a Comment